How To Frame Your Bathroom Mirror
When it comes to bathroom décor, there’s one thing that most of us couldn’t live without; a bathroom mirror. Instead of struggling to do your makeup in a tiny stand mirror, or having a boring rectangle that blends into the background, why not make your mirror a statement piece within the room? Here’s how to create a frame for your mirror, without breaking the bank.
Framing a plain mirror
If you have a plain mirror with no edging that you want to spruce up, simply add a frame with these easy DIY steps. This would also be a fantastic way to create an affordable mirror if you’re looking for a new addition to your space.
What you’ll need
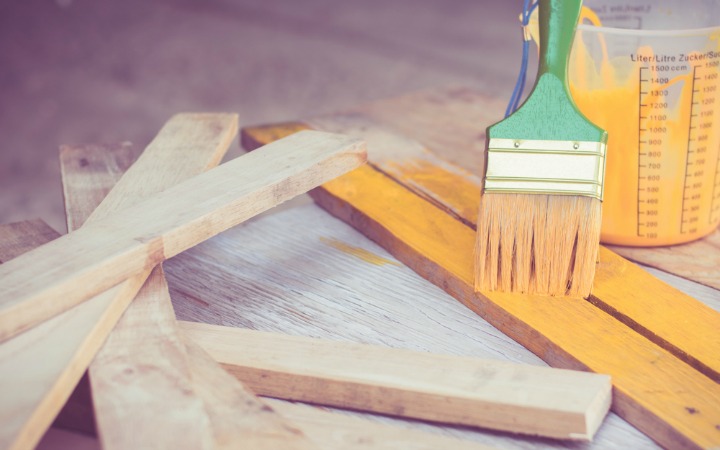
- A wall moulding
- Some mirror adhesive
- A hand saw
- A mitre box
- A piece of sandpaper
- Some varnish / paint
All of these items can be picked up from most DIY shops.
How to make it
- Measure each side of your mirror to establish how much wall moulding you’ll need - remember you'll need a little extra for the mitre's
- Choose a wall moulding that will best fit with your décor. Designs range from plain planks to carved mouldings, so think about the effect you want your mirror to have. Also, consider the width of the moulding frame so that it doesn’t overpower the overall size of the mirror
- Measure your moulding to size allowing for a 1cm overlap of the mirror each side. Cut with a 45-degree angle at each end. You will now have 4 moulded panels
- Sand down the edges of the mouldings for a smooth finish
- Paint both sides of the moulded panels with your chosen paint or varnish. It’s important to do this, particularly with wood, as this will protect the panels from humid conditions which can cause them to warp or crack
- Apply adhesive to the back of your panels, one at a time. Don’t saturate the panel, otherwise the glue may seep out
- With your mirror laying on a flat surface, attach each panel carefully ensuring all sides are even
- Leave to dry for a few hours, until the adhesive is fully dry
And there you have it; one beautifully framed mirror. If you want to add a little more interest to your frame, you could attach embellishments such as shells, jewels or flowers. You could even spray paint some stencilled shapes or use masking tape to create geometric prints or stripes. Have fun and let your creativity shine through. After all, if it does go wrong, you can paint over it!
Related: How To Display Art In Your Bathroom
Other ideas
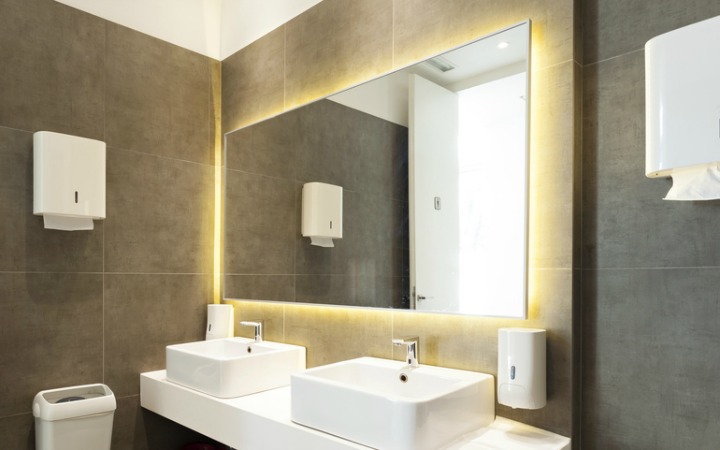
If you like the streamlined look of a plain mirror but just want to emphasise it a bit more, there are other ways you can make it stand out.
For an illuminating effect, and if you don't want to shell out for a Fog Free Mirror or an LED mirror, place a strip of waterproof LED tape lights to the back of the mirror, near the edge. These lights are extremely easy to install and can be cut to whatever size you need. They also peel off and stick to surfaces, meaning you won’t need to glue them. Once switched on, the lights will glow behind the mirror, making it look almost moon-like on the wall. You can relax by candlelight in the bath with just your mirror back-lights on for a soothing and peaceful setting.
Alternatively, if you want to make a bold statement, paint your frame in a colour that completely contrasts with your décor. A pop of orange or bright pink in a monotone room can shake things up. Incorporate the colour into your accessories to tie the look together.
How have you decorated your mirror frame?