How Clean Is Your Bathroom? A Step by Step Cleaning Guide from Aggie Mackenzie
It may be the smallest room in the house, but the bathroom isn’t necessarily the easiest or quickest area to clean and there can be a huge resistance to getting stuck in to the loo, particularly if it’s a busy household. But, like the kitchen oven, the longer you leave it, the less inclined you’ll be to face the grime.
So you’re in there now and the place looks a proper mess. Towels, both wet and dry, in heaps everywhere. Grimy grouting, mouldy corners, layers of limescale hugging the taps, evidence of boys’ aim missing the lavatory pan (why can’t they just sit down like the rest of us?), and remnants of face-shaving dotted around the scummy sink. But don’t walk away! Here are my top tips to make the job quicker, easier and even maybe… pleasant.
1. Start by gathering your equipment, including:
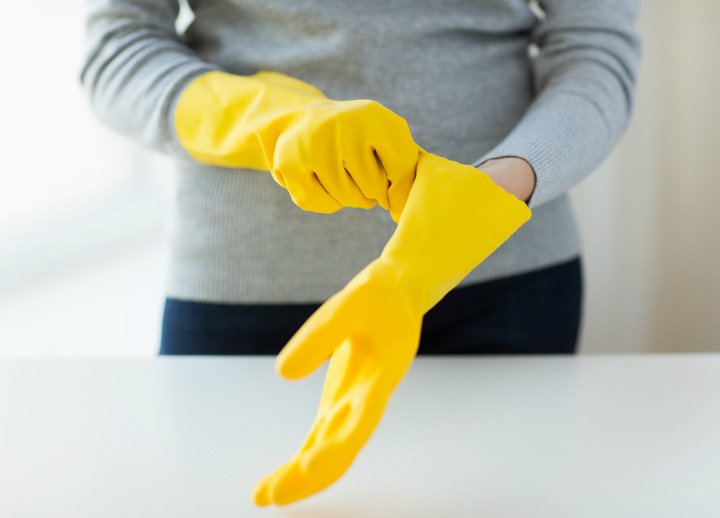
- A pair of thick rubber gloves (you can tackle anything with those)
- Your favourite spray cleaner
- A couple of microfibre cloths (keep separate ones for the kitchen and the bathroom)
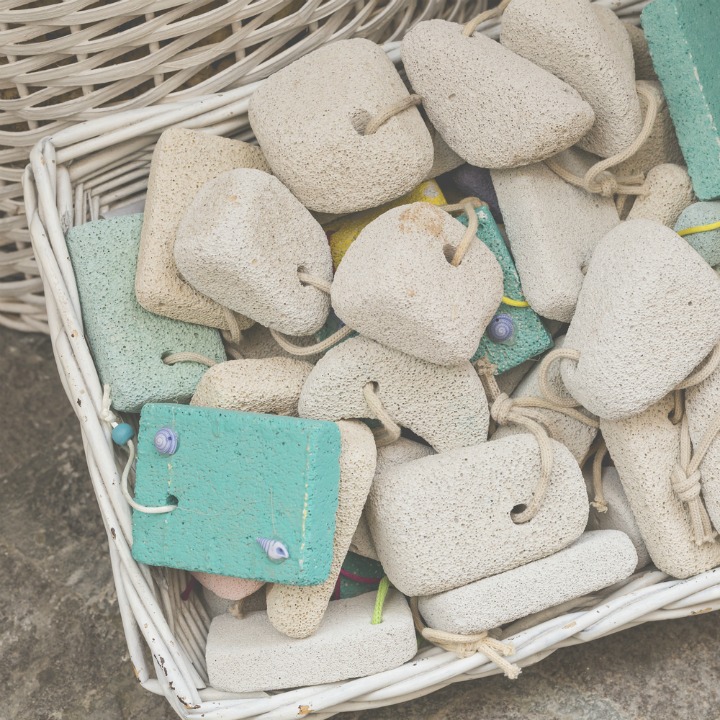
- A pumice stone
- A lavatory cleaner
- An old toothbrush (ensure to label it ‘for cleaning only’)
- Thick bleach
- Clear vinegar
- Kitchen roll
2. Wear an apron and use its pockets to hold the smaller items. Place the other items near to where you’ll be using them. Also, open the window before you get started. It’s important to keep the bathroom ventilated, otherwise you’ll get mouldy patches on the walls, ceiling, and in the bath sealant.
3. Most cleaners work by chemical reaction, so spray all the surfaces that need it, including the sink, shower screen, bath, tiles and taps. (Don’t bother spraying tiles that are high up and rarely get wet, save your energy!) Leave the spray for 10 minutes to allow the dirt to loosen.
4. Meanwhile empty the bin, clean the mirror and buff dry with a microfibre glass cloth as no smears are guaranteed. Then go at the soap dish with the old toothbrush.
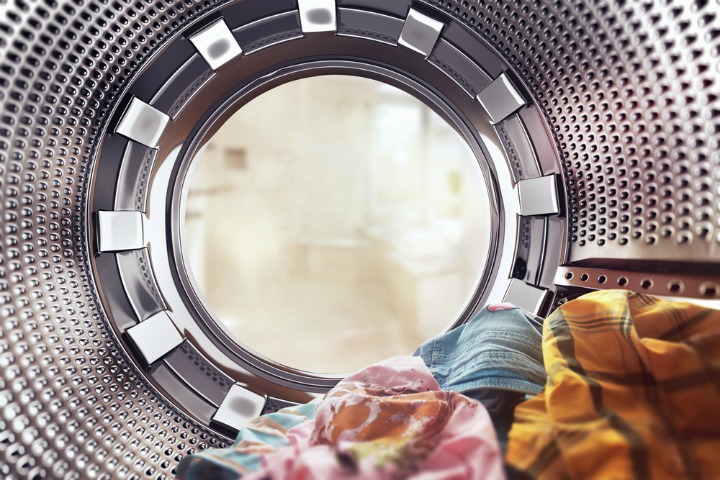
5. Stick the bathmat in the washing machine. If it’s not been washed in a while, chances are it’ll be full of bacteria (usually e-coli and we know where that comes from!) So best to wash it weekly.
6. Is your shower curtain grotty at the base? Whip it off and add to the washing machine with the bathmat. When the cycle’s over, it can be rehung straight away.
7. Tile grout lines are absorbent and hold on to scum and mildew. Scrub clean with a damp toothbrush dipped in diluted bleach (about a 50/50 mixture), then rinse.
8. Time to tackle the bath. Don’t spoil the surface with over-zealous cleaning. If it’s acrylic, use an all-purpose bathroom cleaner (nothing abrasive). Any scratches can be very gently rubbed with cream metal polish. If the bath is enamel, use products with the Vitreous Enamel Association logo on the back label. Never use limescale remover as you’ll strip the top layer. If you’re unsure of anything, test on a small area first.
9. If the bottom of your bath has a roughened surface to prevent slipping, clean it by rubbing with a wet pumice stone. Yes, you’ll have slurry, but just hose it down.
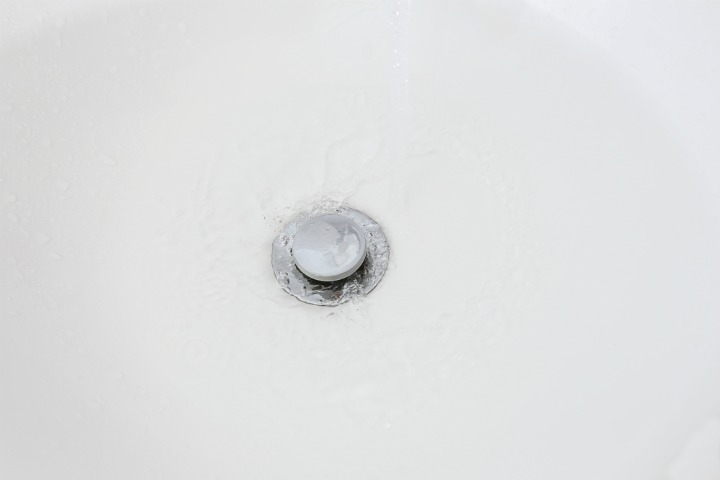
10. Are you a fan of bath oil? You could be in danger of clogging up the plughole as oil collects body hair, which bungs up pipes and drains. If your bath has started to empty slowly, pour a cup each of soda crystals and salt down the plughole, then add a slug of clear vinegar followed by a kettle of boiling water.
11. For a shower screen, microfibre clothes are best for cleaning. After this, use a good quality squeegee with a flexible wiper blade for streak-free drying.
12. Wash the sink and taps and buff dry to a shiny finish with towels you’re about to put in the washing machine. If the chrome taps are caked with limescale, soak a few sheets of kitchen roll with clear vinegar, wrap around taps and leave overnight. The scale will lift off easily.
13. For a chrome showerhead, unscrew and steep overnight in a 50:50 solution of clear vinegar and water, then rinse. Note: don’t use on special metal finishes, as vinegar can cause damage.
14. Now onto the dreaded toilet! If you own a steam cleaner (or can borrow one), it’s brilliant for flushing out any grot that gets lodged in the area where the back of the loo seat is attached to the pan. Aim the nozzle at the fixings and prepare yourself! It’s a very satisfying job.
15. If the loo pan has hard-to-shift stains, use a piece of pumice on it. It’s hard enough to work, yet soft enough not to damage porcelain or enamel surfaces. I am no fan of loo brushes!
16. Some cleaners can do lasting damage on a wooden loo seat. Best to clean it separately with no chemicals and a microfiber cloth (remember to machine-wash after each use). An extra tip is to always close the lid when flushing, as tiny fecal droplets can become airborne and travel up to six feet…possibly landing on a toothbrush, unless it’s safely stored away.
17. Keep your bathroom smelling gorgeous by placing a few drops of your favourite essential oil onto the cardboard tube of the loo roll and the light bulb.
18. Lastly, keep a box of matches in the loo (high up away from little, inquisitive fingers). Once a match is struck, the sulphur given off completely cuts through and kills off any offensive odours. Works every time and saves any embarrassment!