A Beginner’s Guide to Tiling Your Bathroom
Did you know that roughly 70% of the average bathroom renovation expense is spent on labour costs for the professionals fitting your bathroom? With this being said, bathroom DIY is steadily increasing. As gruelling as attempting tiling yourself sounds, it can save you a lot of money, as well as give you eternal bragging rights amongst your family. With this step by step guide, even mere mortals can become tiling experts, just follow this quick and simple process.
1. Plan Areas
Before laying anything down, it’s essential have a vague idea of what’s going where. Do you want to tile the floors or walls? What size tiles would you like? Do you want your bathroom to be fully or just half tiled?
Fully tiling your bathroom allows less limitations with water while half tiling restricts you to a certain splash zone. However, half tiling also allows you to be more creative with the rest of your wall, for example you can experiment with paints or wall papers. Not to mention, less tiles will require less money.
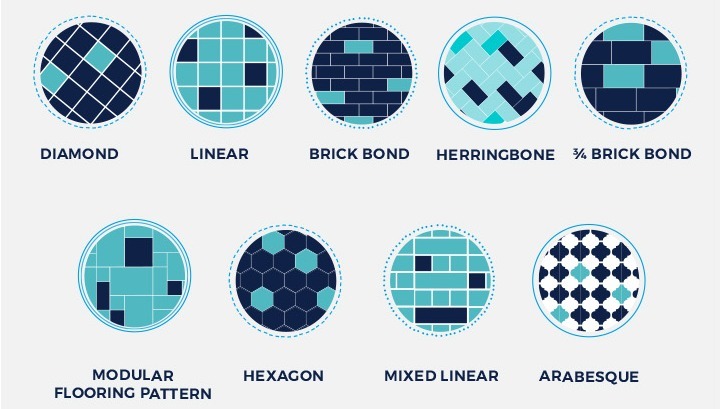
2. Plan Pattern
Once you’ve chosen your tiles, you should decide your layout. You can really get creative with tiling in terms of layout patterns and there are many options available that aren't just a linear grid. The most popular patterns for both modern or traditional bathrooms are diamond, brick bond, herringbone, hexagon and arabesque. Our Bathroom Renovation Cheat Sheet explores tiles further.
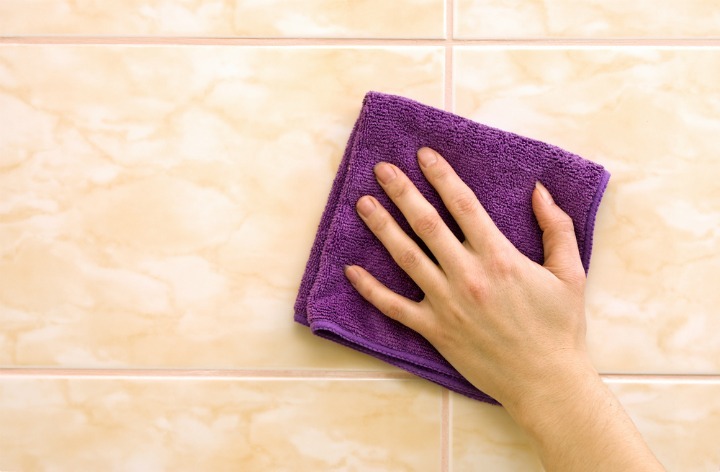
3. Prepare the Surface
Before you start, ensure the surface you're tiling is clean, dry and flat. So strip any wallpaper back to the plaster, wipe the walls down, remove any crumbling plaster and fill any holes with plaster. Plaster may take up to two months to dry, so ensure this is done well in advance depending on which plaster you’re using.
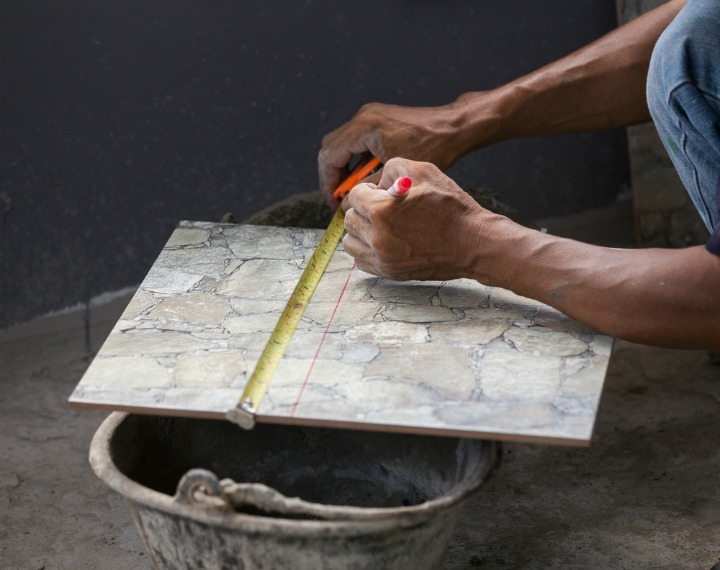
4. Measure
To work out the number of tiles you’ll need, measure the length of the area you’re intending to tile and divide that number by the length of an individual tile. Do the same with width. Then multiply the length and width together to find out the numbers of tiles you’ll require. If you arrive at a decimal point, always round up to a whole number and add roughly 15% to allow for cuts and wastage.
5. Mark the wall
When tiling a vertical wall, it’s easier to make your markings using a gauge rod, instead of having to hold the tiles directly against the wall. A long and thin wooden batten is ideal for the gauge. On your floor lay out a row of tiles with tile spacers in-between them. These tile spacers will allow an equal distance between each tile for grout.
Line your gauge rod up with the tiles and mark the points of each tile and gap on the rod with a pencil. Then copy the markings from the rod onto the wall, start from the middle of your wall and work towards the edges. When marking your wall, ensure your using a spirit level or laser level so your lines will be completely straight.
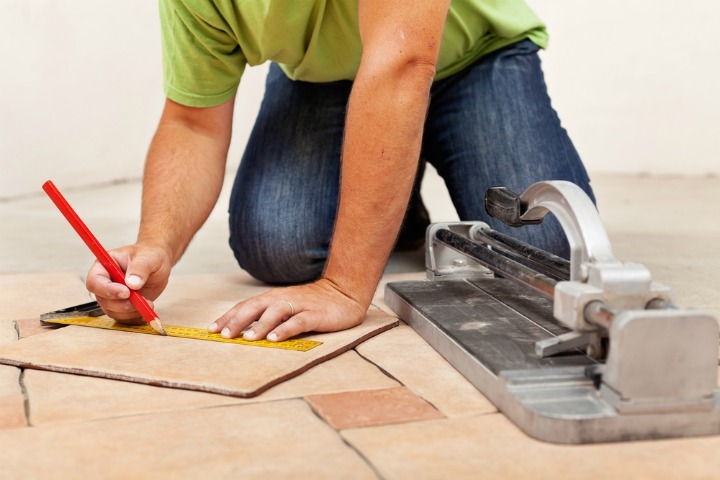
6. Cut Tiles
The tiles used around the edges will most likely have to be trimmed down. Before you lay them, mark the point which will have to be cut and cut with a good quality tile cutter. Make sure you’re wearing gloves and goggles for this to protect you from any flying sharp fragments. If a tile cutter is not available to you, use a tile scribe firmly to score a straight line on the tile. Then lay the tile over the edge of a surface and apply firm pressure to the overhang to break the tile.
7. Apply Tiles
Before installing your tiles, apply your chosen adhesive to the immediate area of wall about to be tiled. Try not to go over one square metre at a time, as the adhesive could start hardening before you apply the tiles. Ensure you choose an adhesive that’s waterproof if it’s in a splash zone and apply to your wall generously using a tiling trowel.
Spread the adhesive evenly with a notched spreader, making strokes at a 45-degree angle. Then simply press each tile into the adhesive, one at a time. Put tile spacers into the angles between the tiles and adjust the tile positions when needed. Ensure you push the spacers in firmly enough so you can grout over them. If adhesive splashes onto your tile surfaces during this process, wipe off with a damp sponge, as it’s difficult to remove when it hardens.
8. Grout
After this, allow at least 24 hours for the adhesive to dry. Then to prepare your grout, put some water in a clean bucket, add the grout bit by bit and mix to a thick consistency. Leave this mixture for five minutes before applying to the wall.
Next fill in the spaces between your tiles using this grout with a rubber edged squeegee held at a 45-degree angle. After every one or two square meters of grouting stop and clean the tiles with a clean damp sponge. Finally, leave for roughly 30-60 minutes to dry then gently polish your wall with a soft cloth to give your tiles extra gleam.